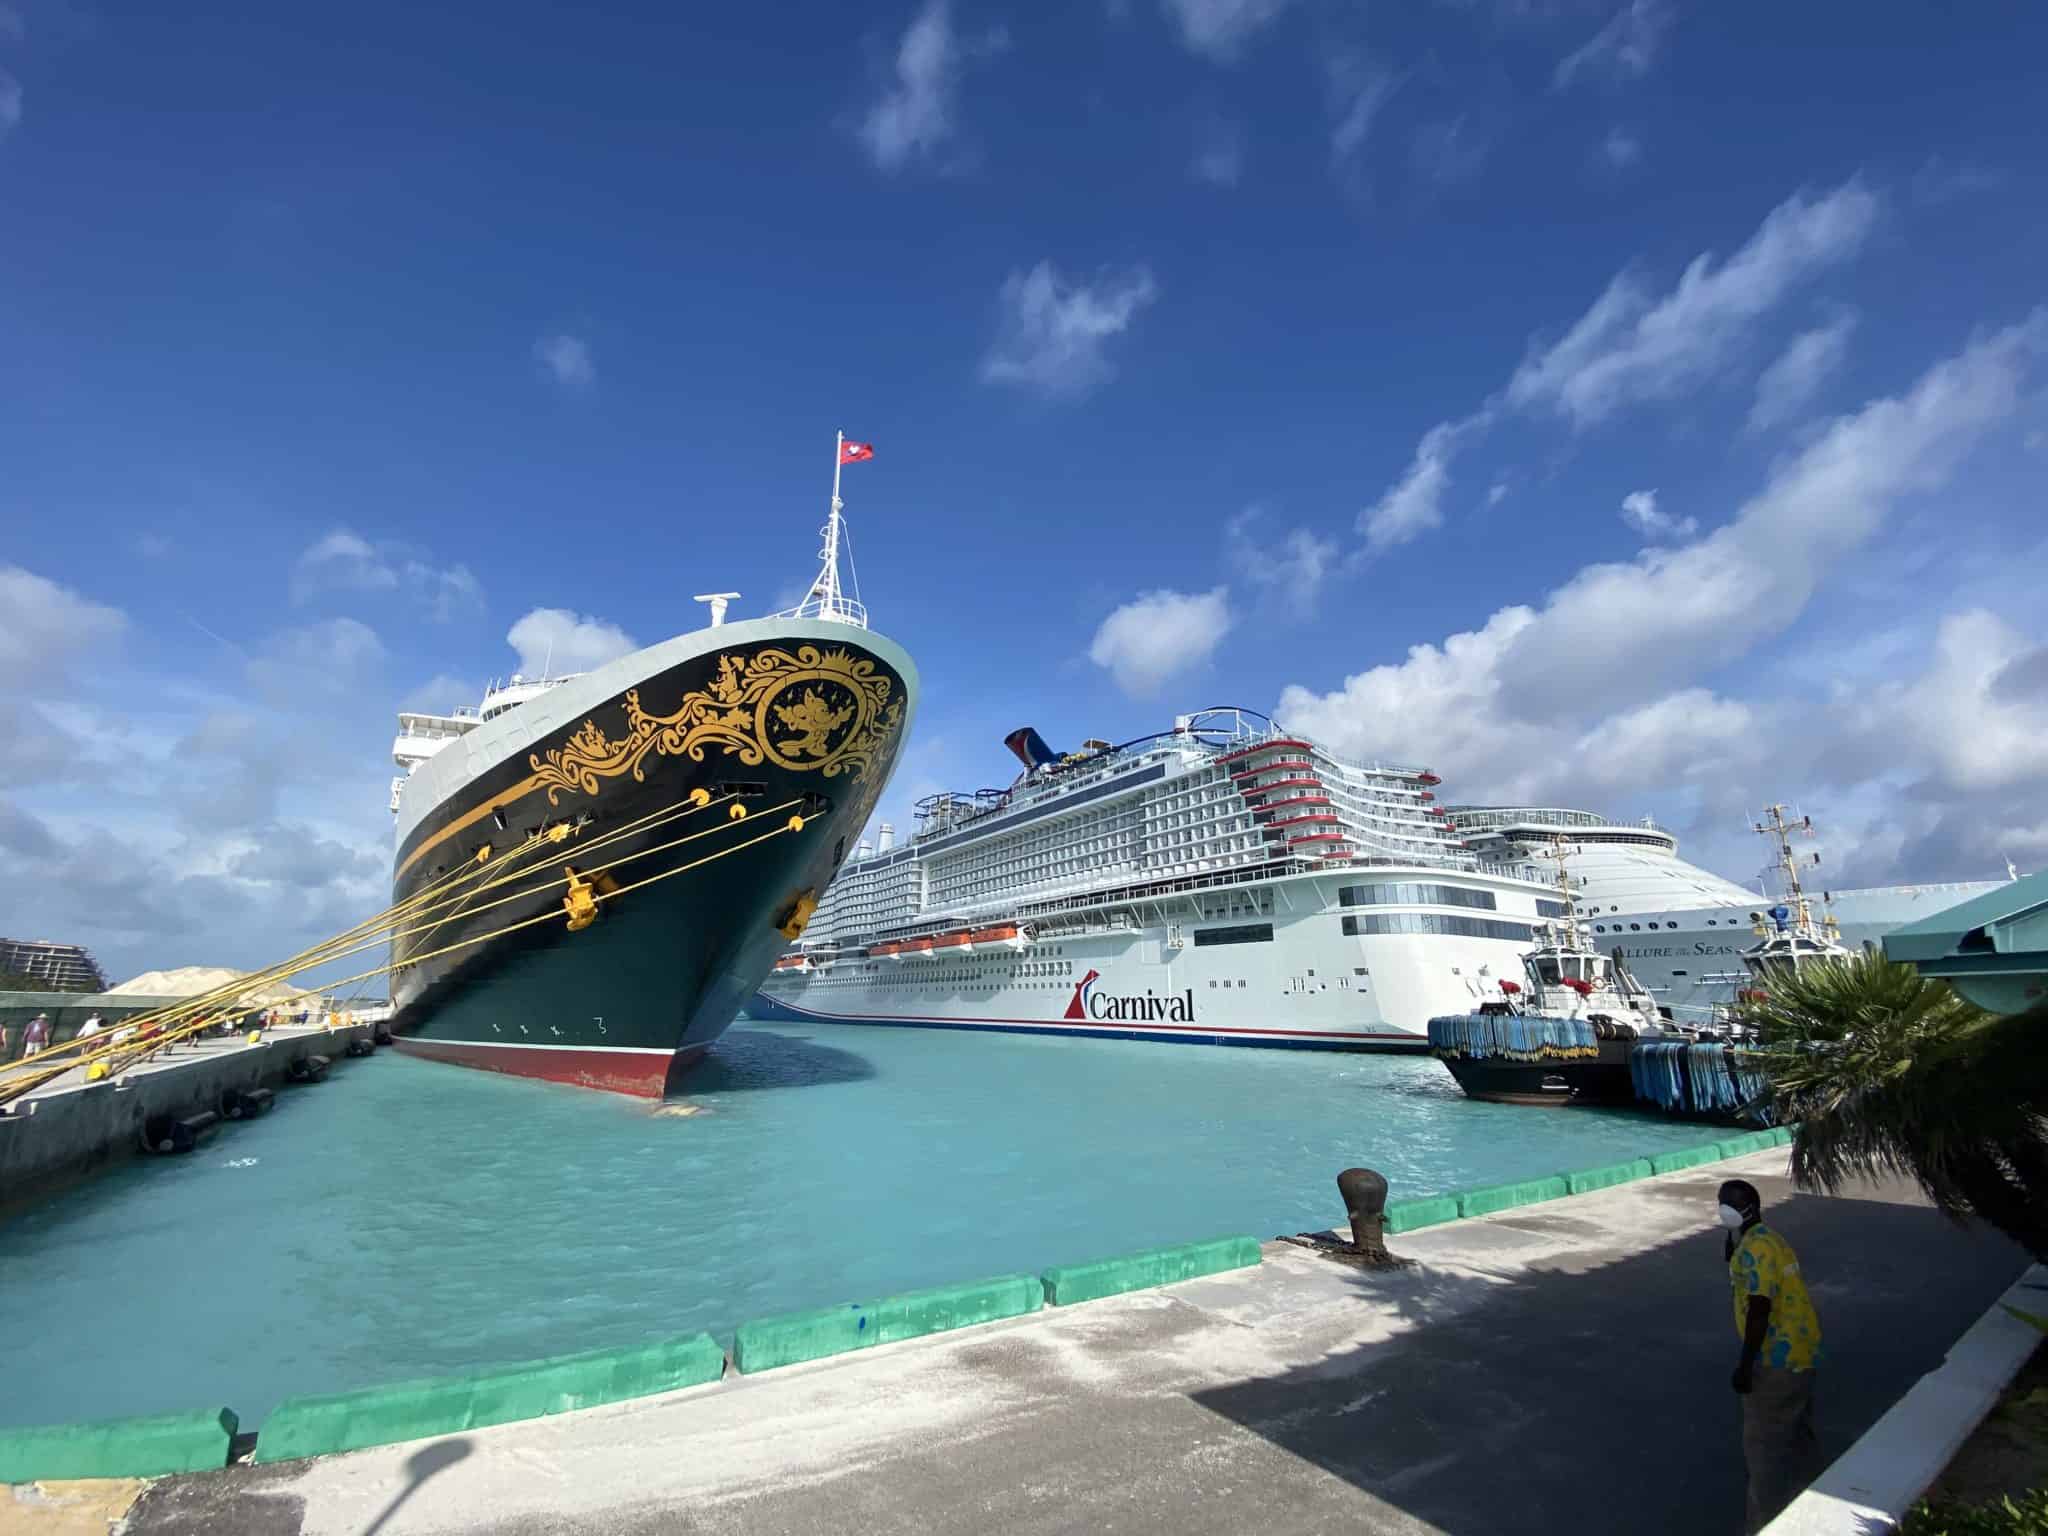
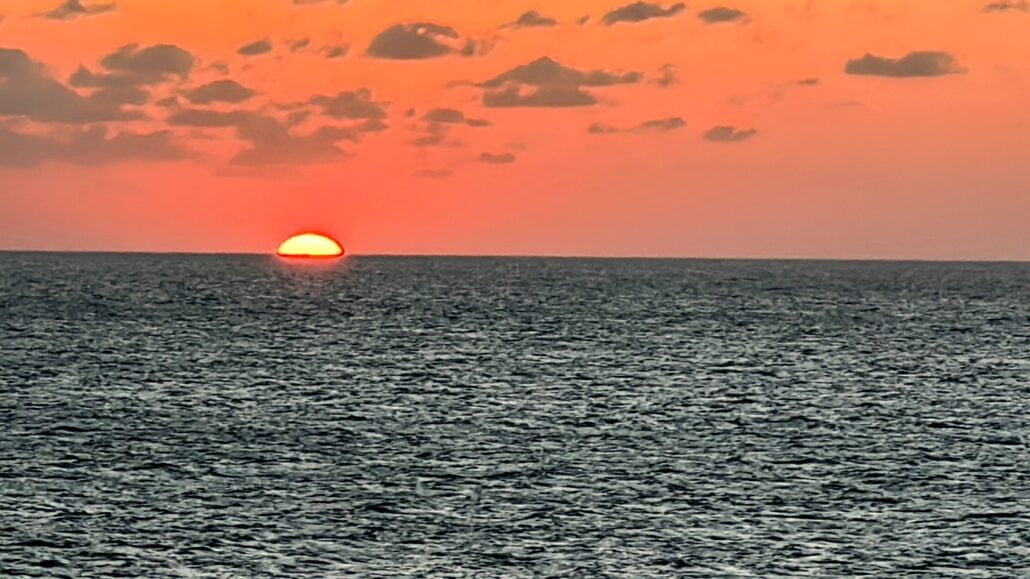
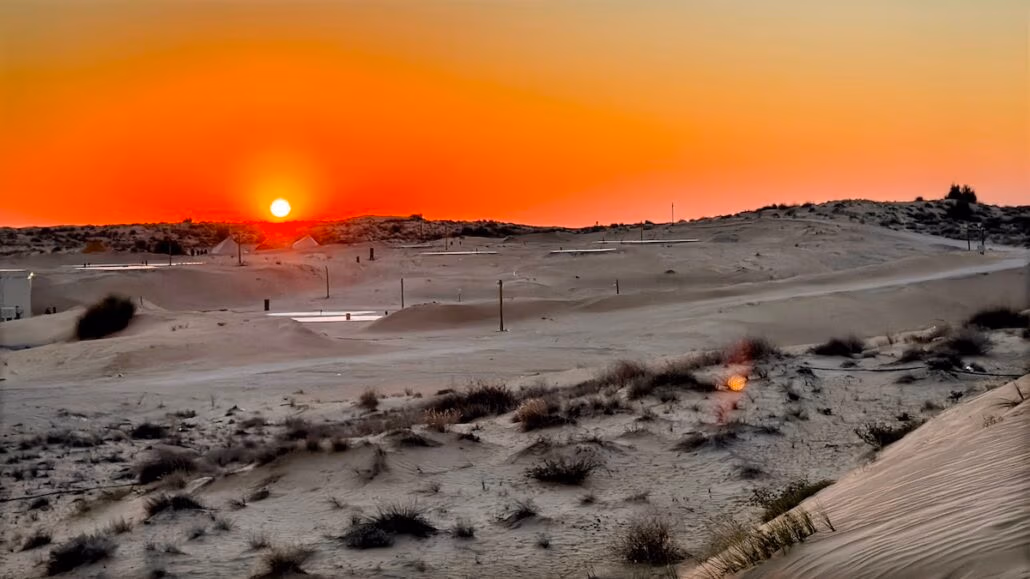
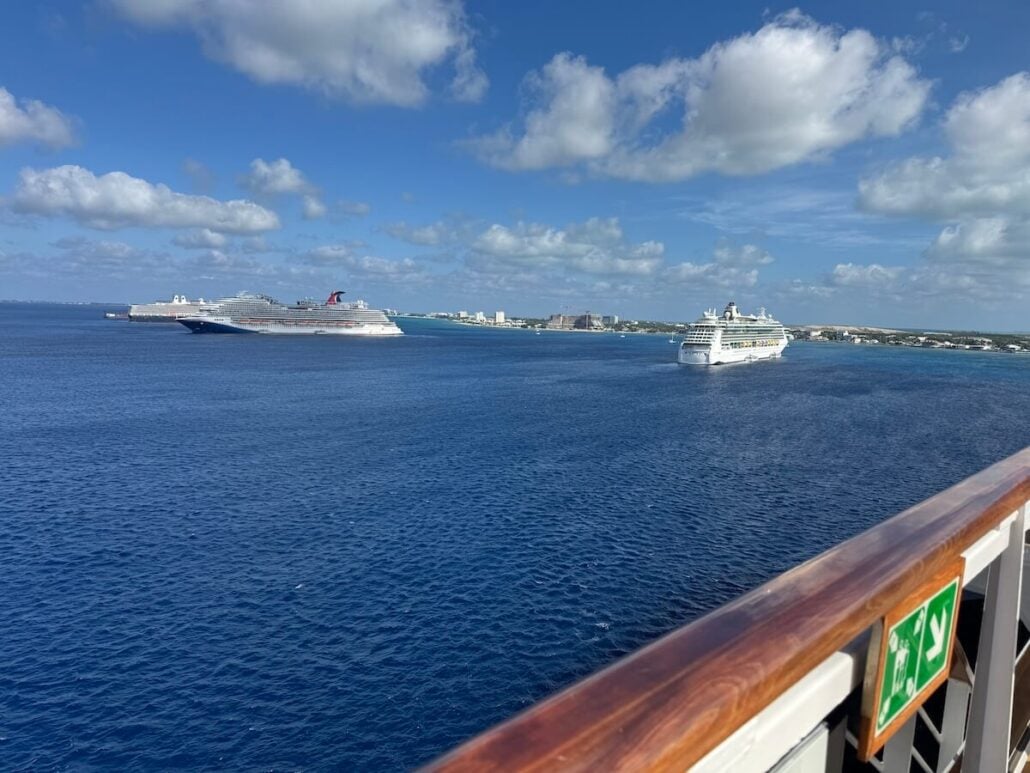
So you just got back from a cruise, right? Your phone is loaded with pictures—sunsets glowing golden over the ship’s bow, that fuzzy snap of your pal dancing like crazy at the deck party, and endless blue water from your balcony.
Awesome, no doubt, but flipping through them feels kind of dull compared to how wild and alive the trip actually was.
What if you could turn those shots into a video buzzing with that same ocean vibe? Something that instantly takes you—and anyone watching—right back to the fun? You don’t need to be some movie genius to do it.
Here’s a way to twist your cruise memories into a story that moves, breathes, and might even get a “dude, sweet” from your crew.
Dig Up All Your Stuff First
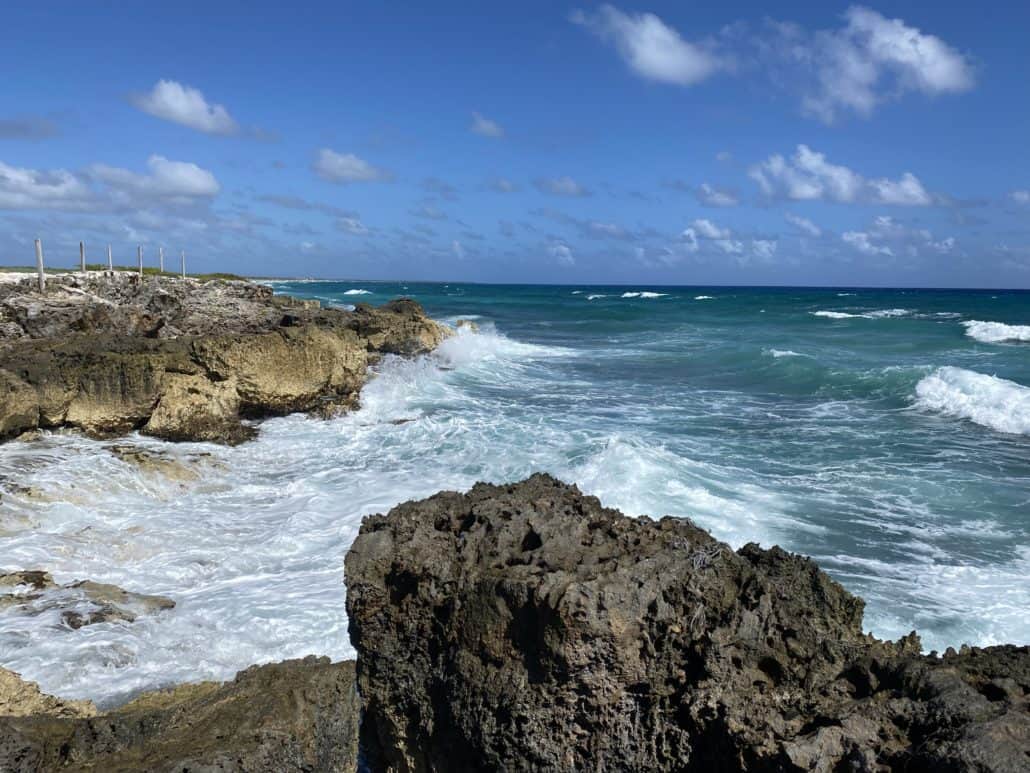
Kick things off by raiding your photo pile. Do not just snag the perfect ones—like you rocking a big hat by the poolside. Scoop up the messy bits too: a half-gone shrimp plate from the buffet, that secret shot of the bartender tossing limes, or the wonky horizon you clicked when the ship swayed.
Do you have little videos? Like the horn blasting as you pulled out of port, waves smacking the side, or your cousin butchering karaoke—throw them in. These scraps weave your story together. Chuck everything into a computer folder so you are not hunting later.
Figure Out What Your Trip Meant

Hold off on any tech for a second—think what the cruise felt like instead.
Was it all fast and crazy with new stops—busy markets, old ruins, that beach so white it stung your eyes?
Or was it more chill, like sea days drifting slow, where picking a hot tub or nap was the big deal? Maybe the people stuck out—crew knowing your coffee by day two, or some dude crashing every picture with a goofy face?
Rough out a plan: a start that hooks them (ship leaving, say), a middle with the juicy stuff, and an end that feels good—like the quiet starry night before home. No stress—just a mood to steer you.
Set Up the Basics
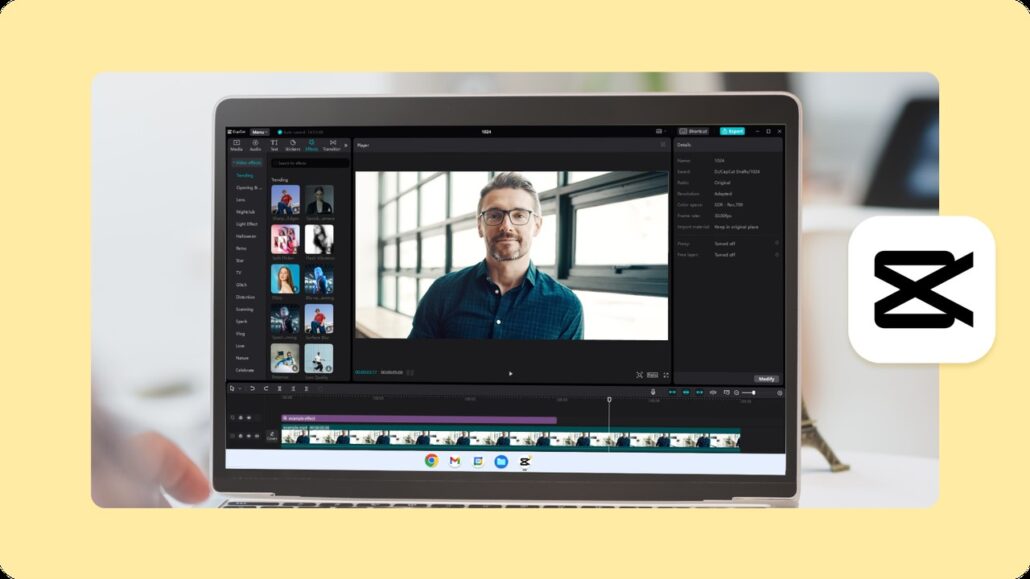
Get Ai video generator like CapCut. It is a great pick since it’s free, runs on Windows or Mac, and has a clean interface even beginners can handle. Pull in your pictures and clips, and then drag them to the timeline spot.
With CapCut, you just drag files right into the workspace, and the timeline lets you layer stuff without any fuss.
Picture it like a comic book page: ship looming huge at the dock first, you waving all goofy next, and then that wild top-deck view. Hit play. Does it flow okay? Mix it up if it is a messy slide show until it feels like a real trip, not just random snaps.
Add Some Life to the Still Shots
Pictures sitting still can bore you quickly, so shake them up a bit. Lots of editors have this “Ken Burns” thing—slow zoom or slide that makes shots feel moving. CapCut for PC has this built-in, letting you animate pics with keyframes or zoom effects right from the timeline. Zoom in on your silly snorkel grin, maybe, or sweep across the sun dipping down.
Stick transitions between—like a soft fade, not some lame starburst—to keep it smooth. CapCut’s got a bunch of transitions like fades or slides you can tweak, so your video flows easily on the eyes. The ship glides on water; your story should too, not jerk around.
Pump In The Vibe with Sound
No sound in a video is like no breeze on a cruise—blah. Find tunes that match the feel.
CapCut for PC gives you a library of royalty-free music—like chill steel drums or upbeat tracks—to match your cruise mood. Mellow steel drums for lazy pool hangs, or a fast beat for shore-day chaos. Do you have clips with noise—like the crowd yelling at the belly-flop showdown? Layer music under so it does not drown them out.
CapCut’s audio tools let you adjust volume and even clean up background noise, keeping your clips crisp. Cut the track to fit your video, and tweak the loudness until it is perfect. The aim is a sound that yanks you back to the deck, not hogging the spotlight.
Toss Words On There
If you have clips with talking—like your buddy yapping about nearly missing the boat—captions tie it neat. Use something like the CapCut’s voice changer.
- Open your project in CapCut on your PC.
- Click the “Text” tab at the top.
- Select “Auto Captions” from the dropdown.
- Pick the language your clips are in (English, Spanish, whatever fits).
- Hit “Generate” and watch CapCut transcribe the audio into text, synced to the timeline.
- Tweak the text if it mishears something (it’s not perfect with background noise), and play with the font or color to make it pop—maybe a nautical blue or a sandy beige.
Smooth Out the Rough Spots
Now zoom in on the little things. Pictures should hang around 3-5 seconds—long enough to sink in, not so fast it makes you dizzy.
Is a transition out of sync? Slide it over. If your editor has extras, play—soft glow on a sunset, tiny anchor doodle in the corner.
Don’t go nuts; this is not a cartoon. Watch it like you never sipped a cruise drink. Does it grab you? Mess with it until it does.
Finish and Show It Off
Does it feel good? Export it—1080p looks sharp on most stuff. Call it something dope—“Cruise Vibes” or “Ocean Run”—then let it cook.
Watch it once more, loving how it brings the trip alive.
Share it out—post online, text your cruise gang, or flex it at family night. It is not just a video—it is your whole adventure-packed up to replay.
Bonus Kicks for Extra Cool
- Talk It: Record a line—“The week we raced the sun”—to start with your voice.
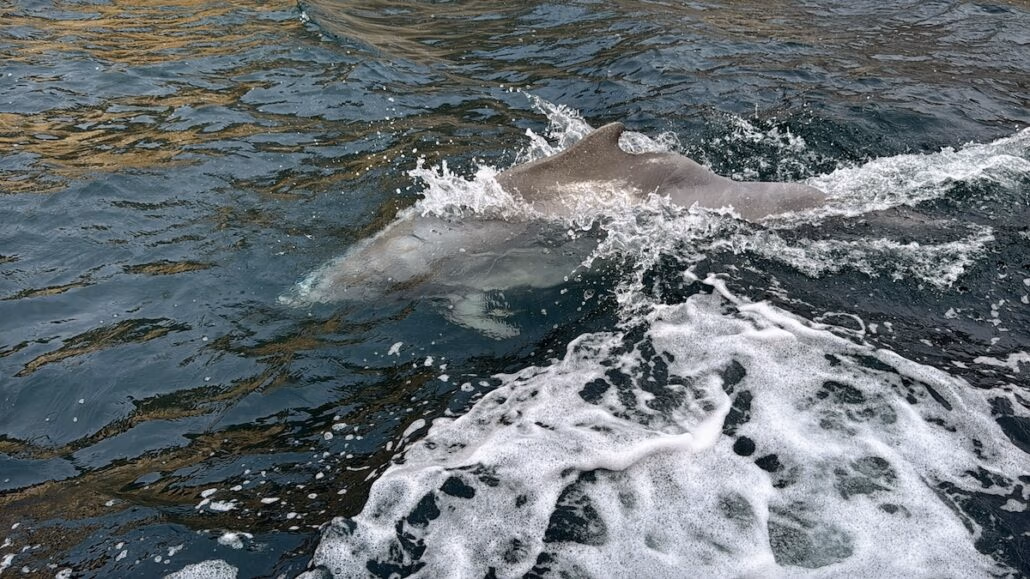
- Switch Views: Do you have a drone ship shot or an underwater reef picture? Mix them in for a wow jolt.
- Short and Sweet: Keep it 1-3 minutes—full but not dragging.
Turning cruise pictures into a video is like popping the lid off your trip—motion, sound, color spilling out.
You do not need pro gear or skills; just mess with what you have until it rocks.
Grab those shots, play around, and let the waves lead you. Your next big replay is a couple of clicks off.
This is the video I used to help me learn CapCut.